
AI Desk Robot V1
A tiny AI companion that can see, hear, talk, move, and react.
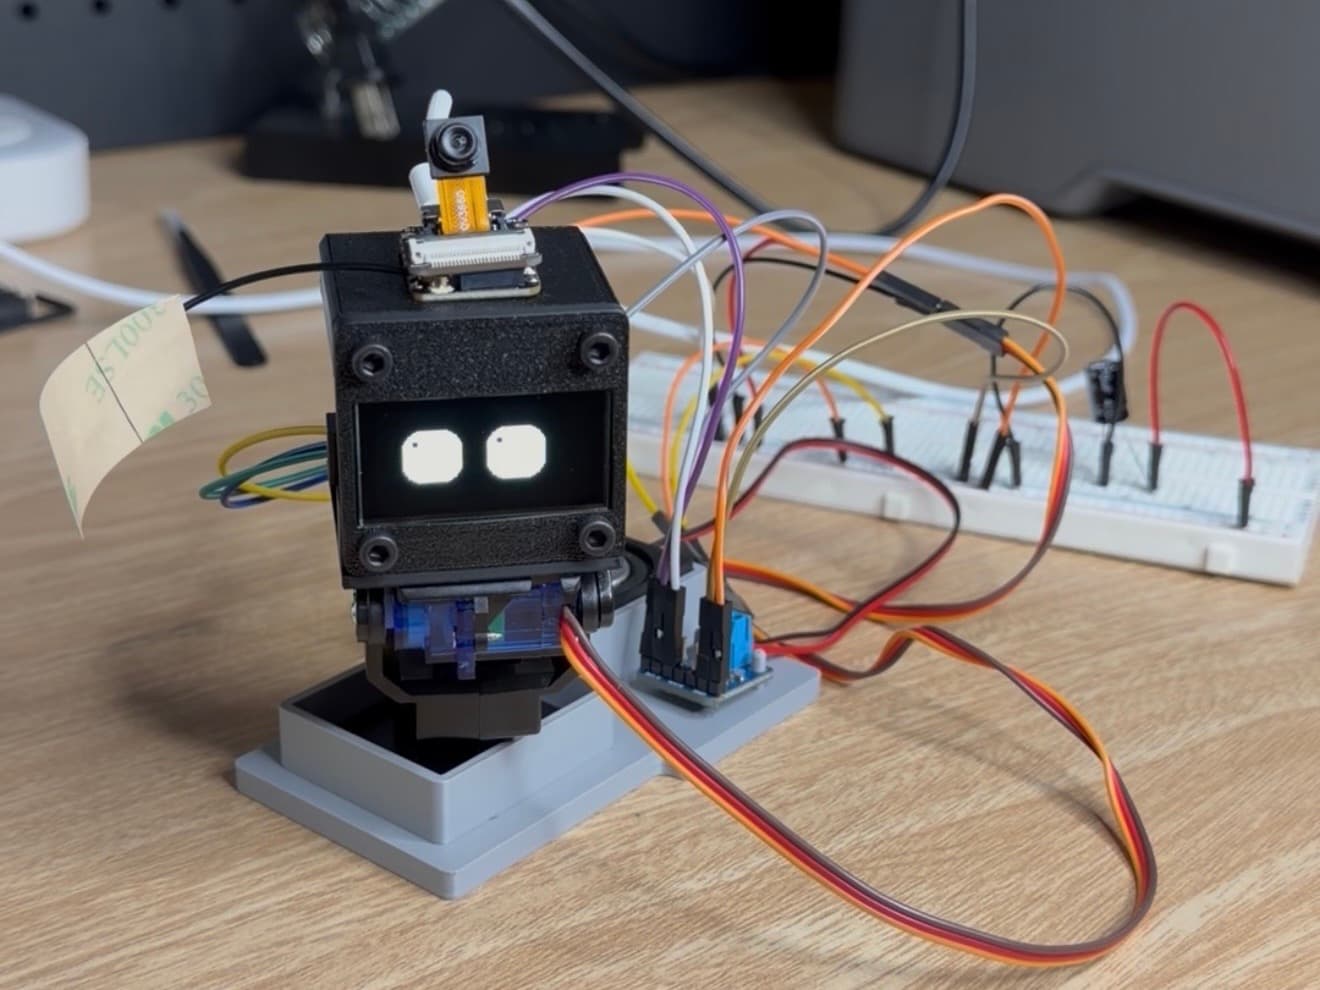
I'm building an AI-powered desk robot from scratch: designing the hardware, 3D printing the body, wiring the electronics, and programming everything that brings it to life.
$13V1 build files, one-time purchase


Build your own
The code is free on GitHub. The files and guides that save you the hours I spent figuring it out are one small bundle.
CAD files (Fusion 360 and STEP), print files (STL and 3MF), the wiring diagram, the assembly guide, and the setup instructions.
Buy V1 once and every future version's files are free, with an email when each one is released.
Heads up: The printed parts are sized for the exact parts in my parts list below. If you use different ones, they may not fit.
Inside the build
What I used.
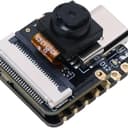
- MicrocontrollerMain microcontroller with the camera on board.View partView part
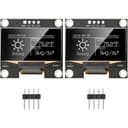
- OLED displayOut of stockThe animated face.View partReplacementTry this replacement instead. It isn't the one I used, but it has the same dimensions.View replacement
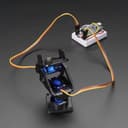
- Pan/tilt kitOut of stockThe bracket that moves the head, with the two micro servos it came with.View partReplacementTry this replacement instead. It isn't the one I used, but it has the same dimensions.View replacement
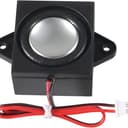
- SpeakerVoice output.View part
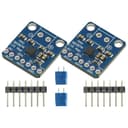
- Audio hardwareA MAX98357A I2S amplifier board that drives the speaker from the microcontroller.View part
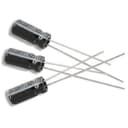
- CapacitorOut of stockA 470µF electrolytic across the 5V rail, next to the servos, so head movement doesn't brown out the board.View partReplacementTry this replacement instead. It isn't the one I used: it's rated 50V instead of 16V, so it's a little bigger, but it still works.View replacement
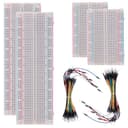
- BreadboardSolderless breadboards for wiring up the prototype without soldering.View part
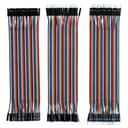
- Jumper wiresDupont wires (male and female ends) that connect everything on the breadboard.View part
- Heat-set insertsAn M3 brass insert and screw kit. Four inserts and four screws hold the printed parts together.View part



What it can do
- Camera
See
A camera gives the robot visual context about what's happening in front of it.
- Wake word
Hear
A wake word activates the robot and starts the listening and interaction pipeline.
- Speech + AI
Talk
Speech and AI let the robot respond conversationally.
- 2 servos, pan and tilt
Move
A two-servo pan-and-tilt system lets the head move left, right, center, and down.
- OLED display
Express
An OLED display gives the robot an animated face that can show different expressions.
- Local server
Think
A local server connects the hardware to the AI systems that process conversations and visual information.
How it works
The robot is built around a Seeed Studio XIAO ESP32-S3 Sense, a board about the size of a postage stamp with a camera attached. It handles the physical side: reading the camera and microphone, driving the servos, drawing the face on the screen.
The board doesn't do the thinking. It sends what it sees and hears to a local server running on my laptop, which handles the heavier AI, speech, and vision work and sends instructions back.
The robot then responds through its speaker, its OLED face, and its head movement. So a conversation is really a loop: sense, send, think, reply.
- InputCamera + microphone
What the robot sees and hears.
- BoardXIAO ESP32-S3 Sense
Runs the hardware and talks to the server over Wi-Fi.
- ServerLocal server
A small program on my laptop that does the heavy lifting.
- ModelsAI, speech, and vision
Understands what was said and seen, and decides what to say back.
- ResponseRobot response
Instructions travel back down to the board.
- OutputOLED face + speaker + servos
It answers out loud, changes expression, and moves its head.
Timeline
This is V1. As the robot gets upgraded, this page gets updated with it.
- Day 1
Starting the AI Desk Robot
Built the initial concept around a Seeed XIAO ESP32-S3 Sense and began figuring out the hardware needed for the robot.
- Day 2
Giving it a face
Designed and 3D printed the base and head, added the OLED face, and wired the pan-and-tilt servos.
- Day 3
Bringing it to life
Added the speaker, camera setup, wake word, voice interaction, animated emotions, head movement, and a live-view dashboard.
- Day 4
Building a new body
Designed a new pan-and-tilt assembly, printed it, and attempted to put it together.
Questions
Do I need to know how to code?
No. The code is already written and free on GitHub. The setup instructions have you fill in a few values, like your Wi-Fi and an API key, and flash the board, with a checkpoint after each part so you know it worked.
What's in the bundle?
CAD files for all four printed parts (Fusion 360 and STEP), print files (STL and 3MF), the wiring diagram and a pin-by-pin reference, a 6-page assembly guide, and 11 pages of setup instructions with a troubleshooting table.
What else do I need?
The parts in the parts list, a 3D printer (the biggest part is 90 x 60 mm), four M3 heat-set inserts and four M3 screws, a soldering iron to set the inserts, super glue, a USB-C data cable, and a 5 V 2 A USB-C power supply. The robot's brain runs on your computer: a Mac, Windows PC, or Linux machine on 2.4 GHz Wi-Fi. I've tested it most on a Mac.
Do I need to solder anything?
Yes, a little. The microcontroller, the OLED display, and the amplifier board need their header pins soldered on, about 27 joints in all, every one through-hole. After that everything plugs into the breadboard with jumper wires, and the same iron sets the heat-set inserts.
Does it cost anything to run?
Only the AI replies. You need an OpenRouter account for the language model, and OpenRouter lets you pick from almost any model. I use Claude Haiku, and a few dollars a month covers a lot of chatting, but plenty of models cost less if you want to spend less. Speech-to-text, wake word detection, and face tracking run on your computer for free. A cloned voice through Fish Audio is optional, and if you use one, it costs a little extra to run.
How do I get the files?
Right after checkout there's a download button, and Lemon Squeezy emails you a receipt.
What happens when V2 comes out?
Buy V1 once and every future version's files are free, with an email when each one is released.
Can I get a refund?
The files are a digital download, so all sales are final. If you're not sure the build is for you, email me before you buy.
Something else? Email me and ask before you buy.
Want to build your own?
The code is on GitHub and the build files are a $13 download: CAD, print files, wiring diagram, assembly guide, and setup instructions.