
AI Desk Robot V2
The second version: a new body, a bigger face, and two custom circuit boards.
V2 is a full rebuild of my AI desk robot. The head turns on a 3D-printed geared turntable and tilts on its own joint, the face is a bigger 2.42 inch screen, and two small custom circuit boards replace the breadboard wiring.
$30V2 build files, one-time purchase
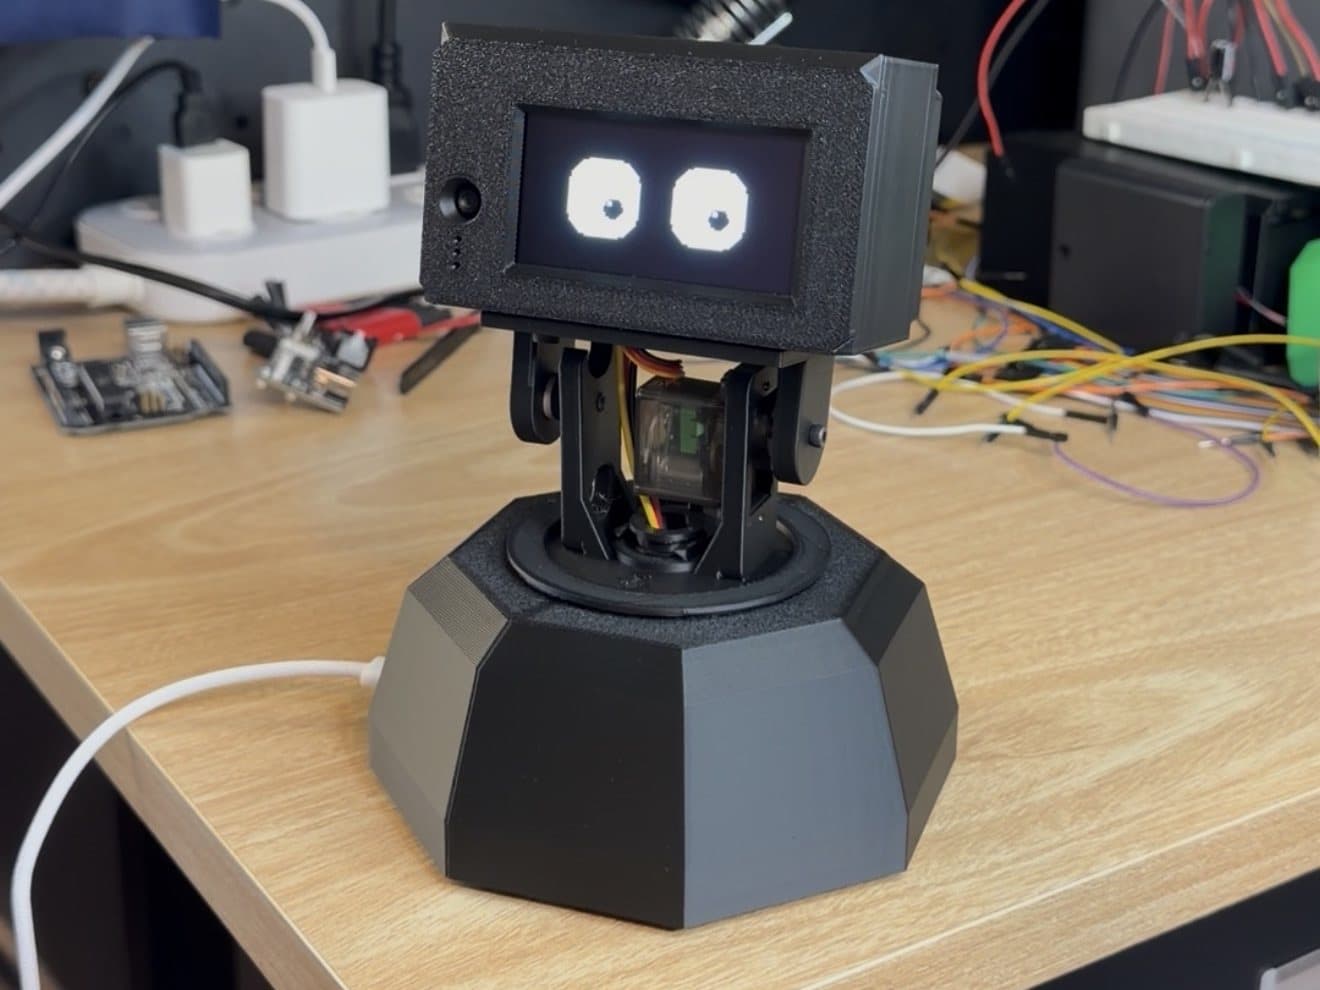 V2 prototype
Build your own
The code is free on GitHub. The files and guides that save you the hours I spent figuring it out are one bundle.
Print files for all 11 printed parts (STL and ready-to-print 3MF), the CAD (Fusion 360 and STEP), Gerber files for the two circuit boards, wiring diagrams, the parts list, the assembly guide, and the software setup guide.
Heads up: The printed parts are sized for the exact parts in my parts list below. If you use different ones, they may not fit.
Inside the build
What I used for V2.
These are the V2 parts. Most of them are different from V1's. See the V1 parts
Electronics
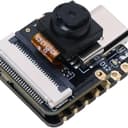
- MicrocontrollerSame as V1Main microcontroller with the camera on board. The camera board, Wi-Fi antenna, and pin headers come with it.View partView part
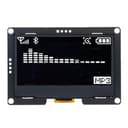
- OLED displayThe face: a 2.42 inch, 128 x 64 SSD1309 screen. The listing has two versions; pick the I2C (4-pin) one.View part
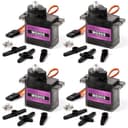
- ServosTwo MG90S metal-gear micro servos: one turns the head, one tilts it. The pack has four. Keep the horns and screws from the bags.View part
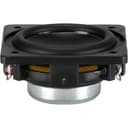
- SpeakerA Dayton Audio CE32A-8, 1¼ inch and 8 ohms, for the voice.View part
- AmplifierSame as V1A MAX98357A I2S amplifier board that drives the speaker from the microcontroller.View part
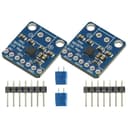
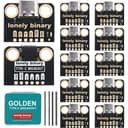
- USB-C breakout boardWhere the power comes in. It has the 5.1 kΩ resistors a USB-C charger needs before it sends 5 V.View part


Soldered onto the circuit boards
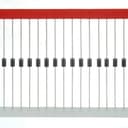
- 1N5817 diodesOne Schottky diode for the head board.View part
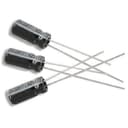
- CapacitorSame as V1One 470 µF electrolytic for the base board, so head movement doesn't brown out the board.View part
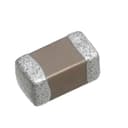
- Head board capacitorOptionalA 22 µF ceramic for the C1 spot on the head board. It smooths tiny power dips at the microcontroller, but the base board's capacitor already covers that, so the robot runs fine with C1 empty. It's surface-mount, so it's fiddlier to solder.View part
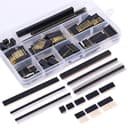
- Pin headersTwo 1x8 female sockets the microcontroller plugs into on the head board, and a 3-pin male header for the pan servo.View part
Wires, screws, and small parts
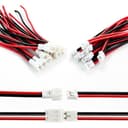
- JST-PH 2-pin leadsA plug and socket pair for the speaker, so the head comes apart.View part
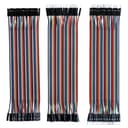
- Jumper wiresSame as V1Female jumpers for the screen and amp leads (five cut in half is enough), and male-to-male ones for centering the servos.View part
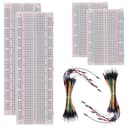
- BreadboardSame as V1Only for centering the servos before they go in.View part
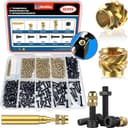
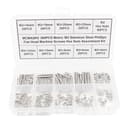
- Heat-set insertsSame as V1M3 brass inserts and M3 screws. Six inserts go in: four in the head's floor, two in the base.View part
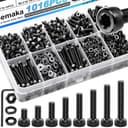
- M2.5 screwsTwo M2.5 x 8 screws for the servo horns.View part
- M2 screwsFor the screen and the speaker.View part
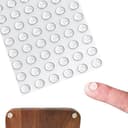
- Rubber bumpersFour clear 10 x 3 mm self-adhesive feet under the base.View part
What it can do
- Camera + face tracking
See
It can tell you what you're holding, look where you ask, and follow your face. A wave wakes it up.
- Wake word
Hear
Say the wake word and it looks up and listens. After that you can keep talking for about a minute without repeating it.
- AI + voice
Talk
It answers out loud with the AI model you pick, in a cloned voice if you add a Fish Audio key.
- Turntable + tilt
Move
Two metal-gear servos: one turns the head on a geared turntable, the other tilts it. It can also dance.
- 2.42 inch OLED
Express
Twelve emotions and four built-in face packs, or design your own. While it sleeps the screen shows the time and weather, or plays Pong, Tetris, or Frogger.
- Runs on your computer
Think
A Python program on your computer does the listening, thinking, and talking, and runs a dashboard for settings, faces, and a live camera view.
How it works
V2 keeps V1's microcontroller, a Seeed Studio XIAO ESP32-S3 Sense, and rebuilds almost everything around it. The head turns on a printed geared turntable and tilts on its own joint, each driven by a metal-gear servo, and two small custom circuit boards replace the breadboard.
The board in the head handles the physical side: the camera, microphone, speaker, screen, and servos. The thinking happens in a Python program on your computer, which the robot talks to over your home Wi-Fi.
That program hears you, asks an AI model what to say, speaks the answer, and runs a dashboard where you change its settings, watch what it sees, and pick its face.
- InputCamera + microphone
What the robot sees and hears.
- BoardXIAO ESP32-S3 Sense
Runs the face, camera, mic, speaker, and servos, and talks to your computer over Wi-Fi.
- BrainPython, on your computer
Listens, thinks, talks, and runs the dashboard.
- CloudAI model + voice
An AI model writes the answer and Fish Audio speaks it.
- ResponseRobot response
Instructions travel back down to the board.
- OutputScreen + speaker + servos
It answers out loud, changes expression, and moves its head.
Questions
Do the V1 parts work for V2?
Some of them. The microcontroller, the amplifier, the breadboard, the jumper wires, and the insert kit are the same, but the screen, servos, speaker, and printed parts are all new, and V2 adds two small circuit boards. Use the parts list on this page. V1 is still on its own page.
Do I need to know how to code?
No. The code is already written and free on GitHub. The setup guide has you download it, fill in your keys and Wi-Fi in two files, and flash the board. It takes about 45 minutes.
What's in the bundle?
Print files for all 11 printed parts (STL, plus ready-to-print Bambu Studio 3MF projects) and the print settings, the CAD (the full assembly in Fusion 360 and STEP, and every part as STEP), Gerber files for the two circuit boards with a PCB guide, wiring diagrams with and without the boards, the parts list, a 29-page assembly guide, and a 17-page software setup guide.
Do I have to order the circuit boards?
They're how the guide builds it, and they replace a tangle of wiring. Upload the two Gerber zips to JLCPCB, PCBWay, or OSH Park as they are. The boards usually cost a few dollars, shipping is most of the price, and they take a week or two, so order them first and print while they travel. If you'd rather skip them, the breadboard wiring diagram shows how to wire everything without them.
What else do I need?
The parts in the parts list, a 3D printer (the biggest part is about 140 x 125 mm, so any bed from 180 x 180 mm fits; everything prints in about 8.5 hours in PLA), a soldering iron, flush cutters, wire strippers, a small Phillips screwdriver with a shaft at least 6 cm long, a 2.5 mm hex key, a multimeter, and a USB-C data cable. The robot's brain runs on your computer: a Mac, Windows PC, or Linux machine on 2.4 GHz Wi-Fi. I built and tested it on a Mac.
Do I need to solder?
Yes. Both circuit boards are through-hole: a diode, a capacitor, pin headers, and the wires to the screen, amp, servos, and power. The same iron sets the six heat-set inserts. The assembly guide walks through it with pictures.
Does it cost anything to run?
Only the AI replies. You need an AI key: OpenRouter by default, or Anthropic or OpenAI directly. A few dollars of credit lasts a long time; a question costs about $0.0005. Speech-to-text, face tracking, and wave detection run on your computer for free. The cloned voice through Fish Audio is optional and costs a little extra; without it, it talks in your computer's built-in voice.
How do I get the files?
Right after checkout there's a download button, and Lemon Squeezy emails you a receipt.
I bought V1. Do I get V2?
If you bought V1 before V2 came out, yes: the V2 files are already on your V1 order page, through the link in your receipt. V1 bought after that is V1 only.
Can I get a refund?
The files are a digital download, so all sales are final. If you're not sure the build is for you, email me before you buy.
Something else? Email me and ask before you buy.
Want to build your own?
The code is on GitHub and the V2 build files are a $30 download: print files, CAD, circuit board files, wiring diagrams, and the assembly and setup guides.